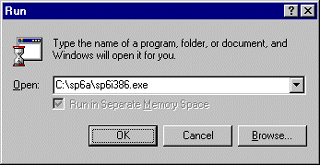
When you download the Service Pack from Microsoft’s Web site, it is in the form of a single, compressed,executable archive file. In the case of Service Pack 6a, the file is called Sp6i386.exe. To launch the Service Pack installation, open the Run dialog box from the start menu and browse to the location where you downloaded the Service Pack file. Click the OK button to execute the file.
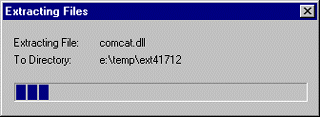
The first action that the Service Pack installation program performs is to verify that the archive file has not been damaged and unpack the files to a temporary directory.
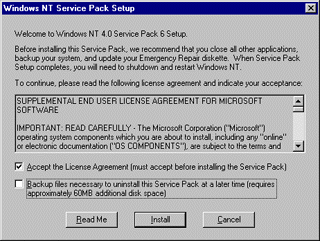
The program then displays the license agreement for the Service Pack. You must accept the terms of the license in order to continue with the installation. Click the Accept the License Agreement checkbox.
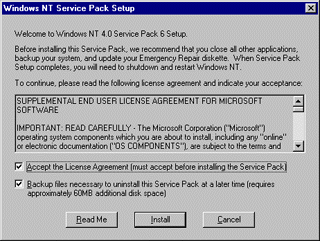
The Service Pack installation program offers to back up the files needed to uninstall the Service Pack at a later time, if you wish. This option requires an additional 60 MB of free disk space. Fill the checkbox if you want to activate this option and click the Install button to begin the Service Pack installation process.

The installation program displays progress indicators that let you track the status of the installation process.
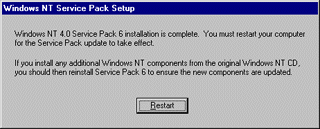
When the Service Pack installation process is complete, the program informs you that you must restart the system for the changes to take effect, and that you must reinstall the Service Pack after adding components from the original Windows NT Server CD-ROM.